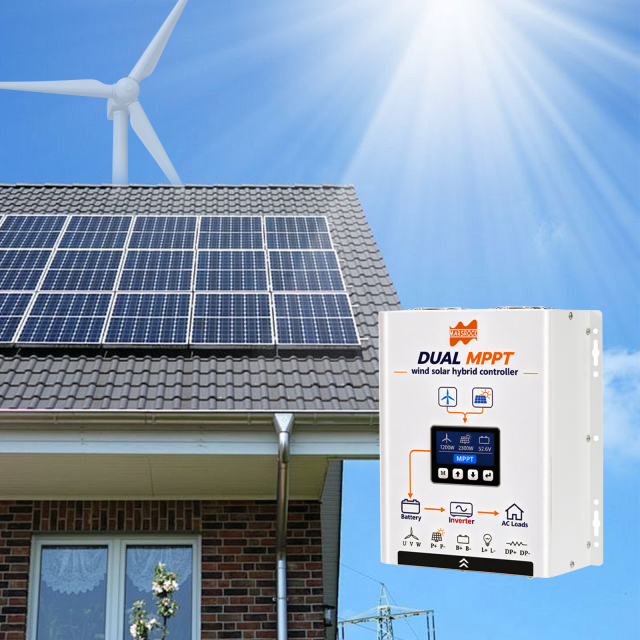
Use these in the top section of the product page for quick scanning.
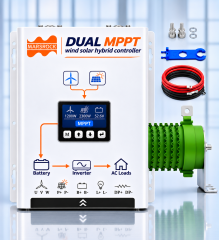
⚡ True Dual Independent MPPT Tracking: Independent control for solar (BUCK step-down) and wind (BOOST step-up) inputs. Each utilizes its own MPPT algorithm to maximize energy conversion under varying conditions.
🔋 Broad Battery Compatibility: Automatically detects and supports 12V, 24V, and 48V lead-acid battery systems. Custom float/boost voltage settings are also supported.
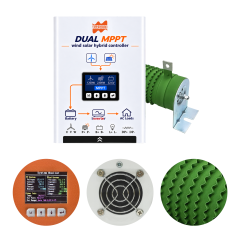
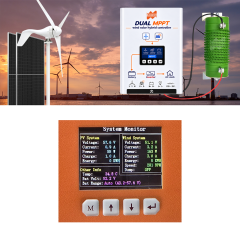
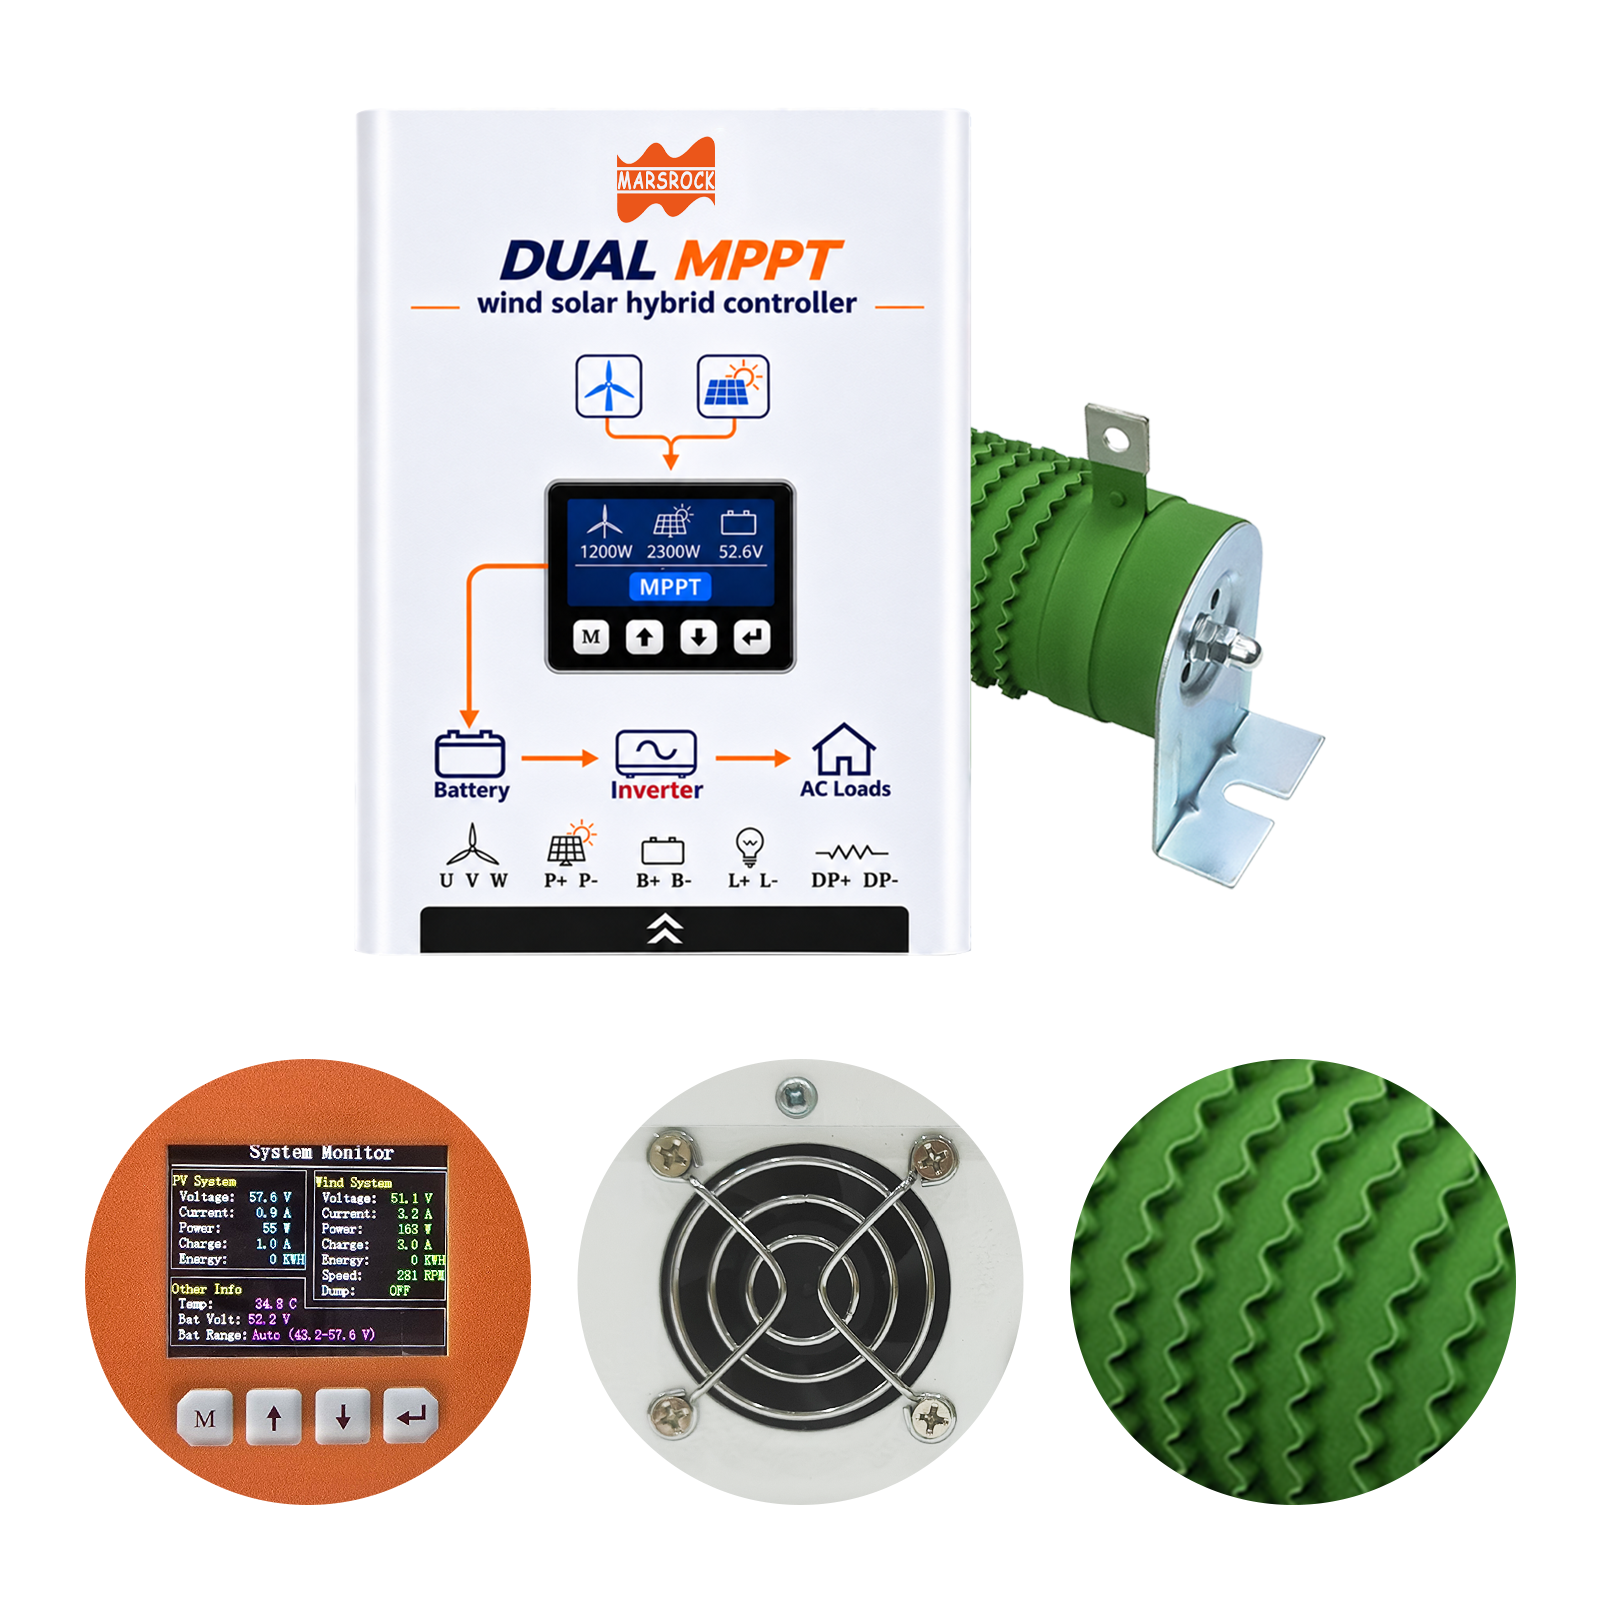
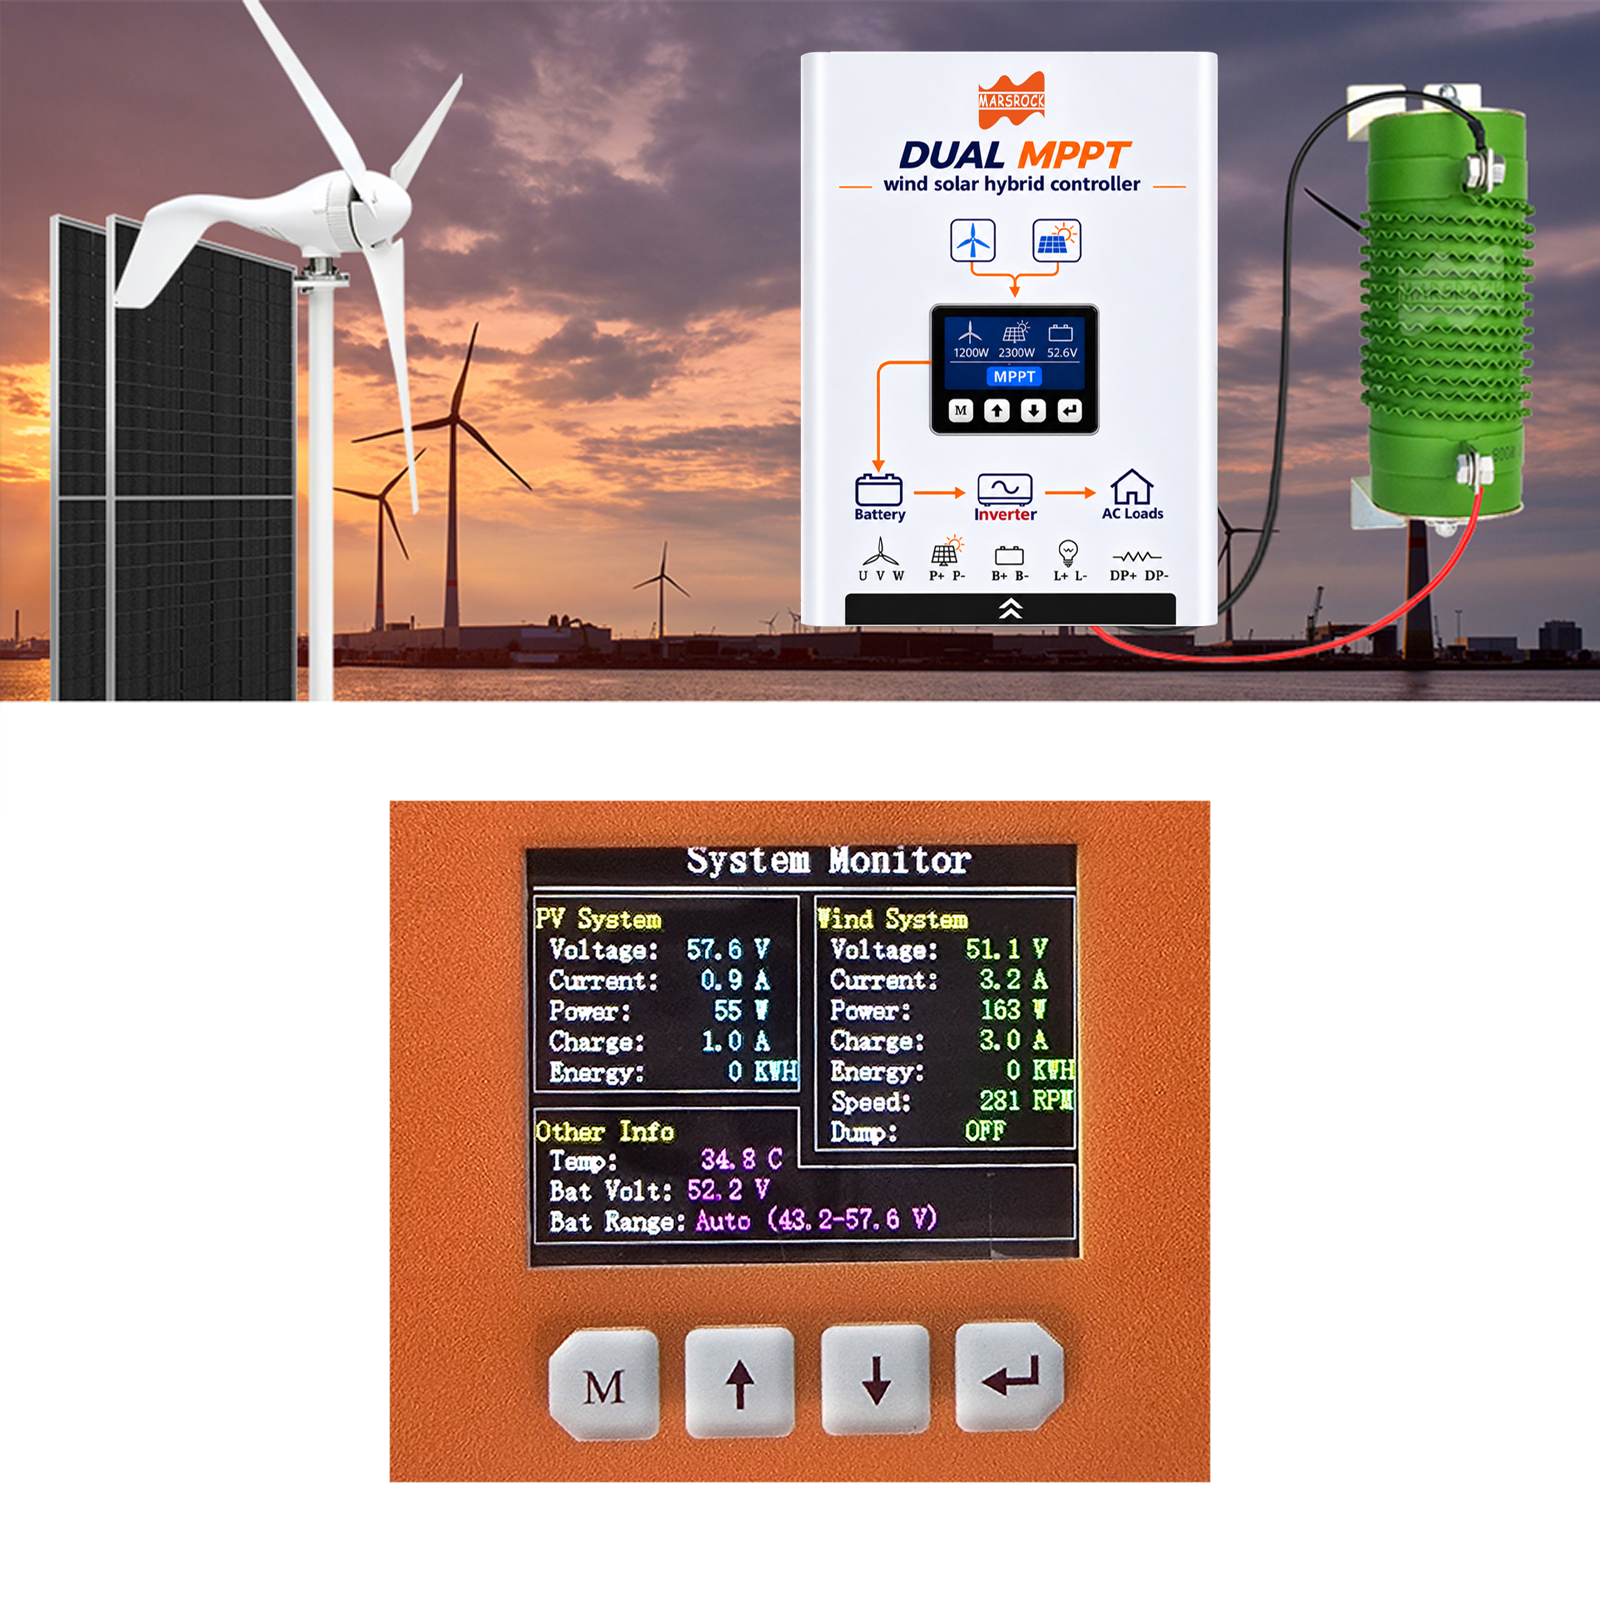
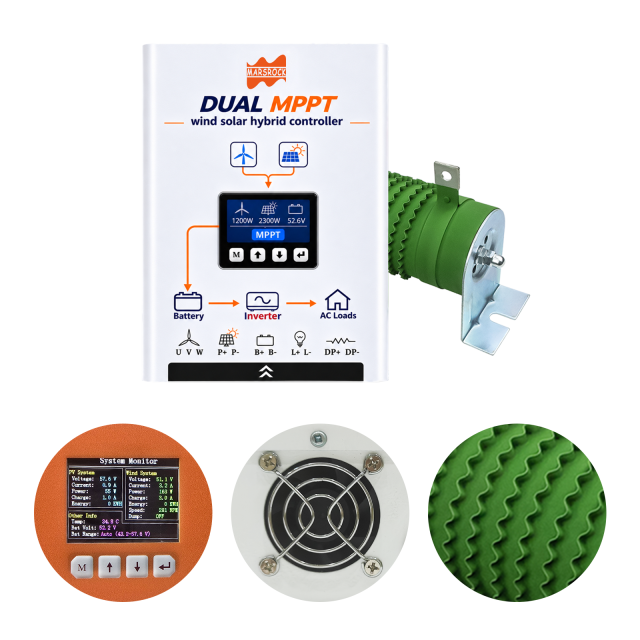
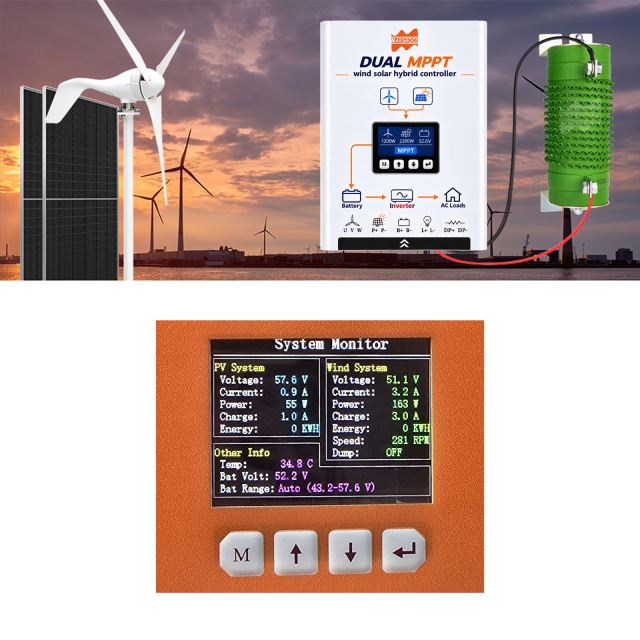
🖥️ 320x240 TFT Color LCD Display: Offers a rich and intuitive interface for real-time monitoring and easy parameter configuration.
⚙️ Highly Customizable Settings:
User-configurable wind turbine pole pairs for accurate RPM measurement and MPPT optimization.
Adjustable maximum charge current for both solar and wind inputs to protect your batteries.
🔌 RS-485 Communication: Built-in Modbus protocol support. Easily set the slave address and baud rate (9600, 19200, 115200) for external monitoring and control systems.
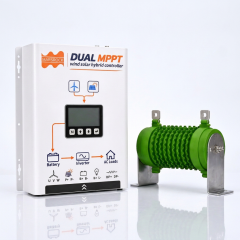
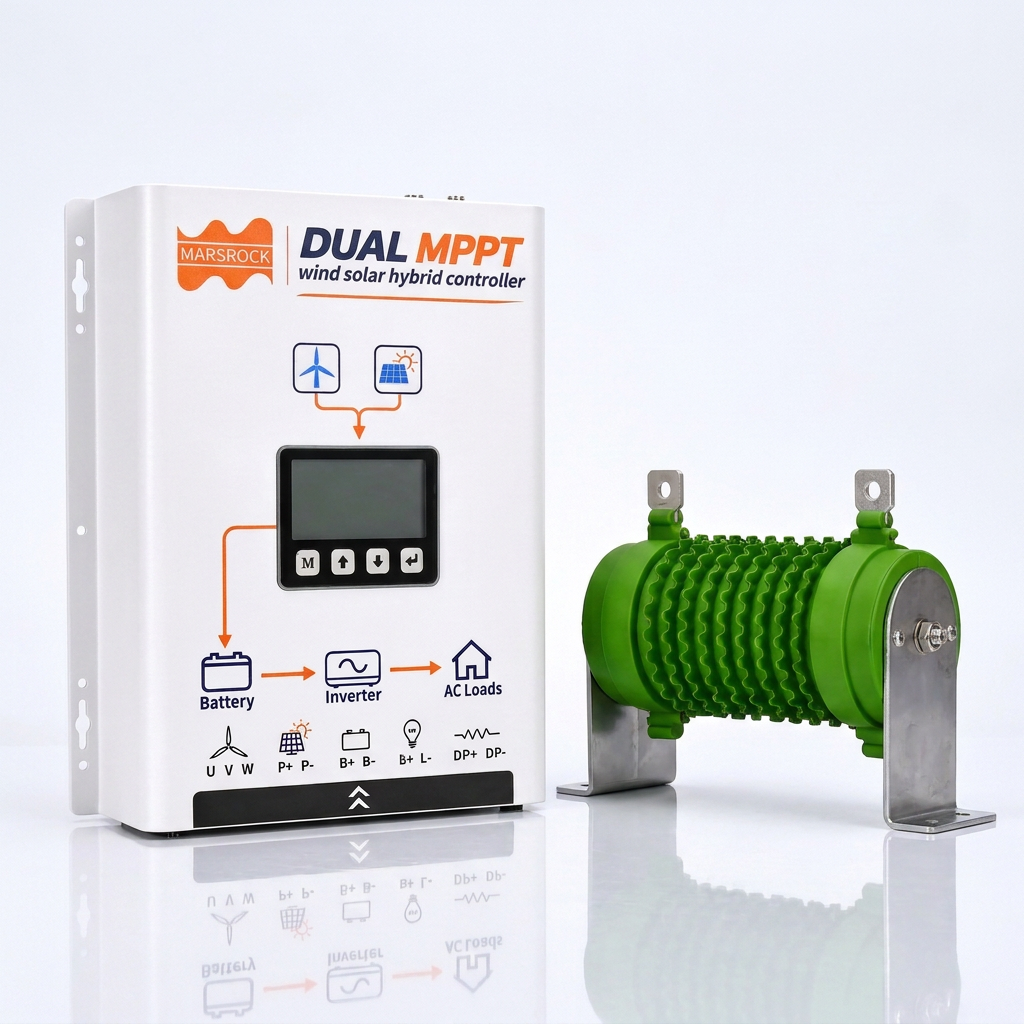
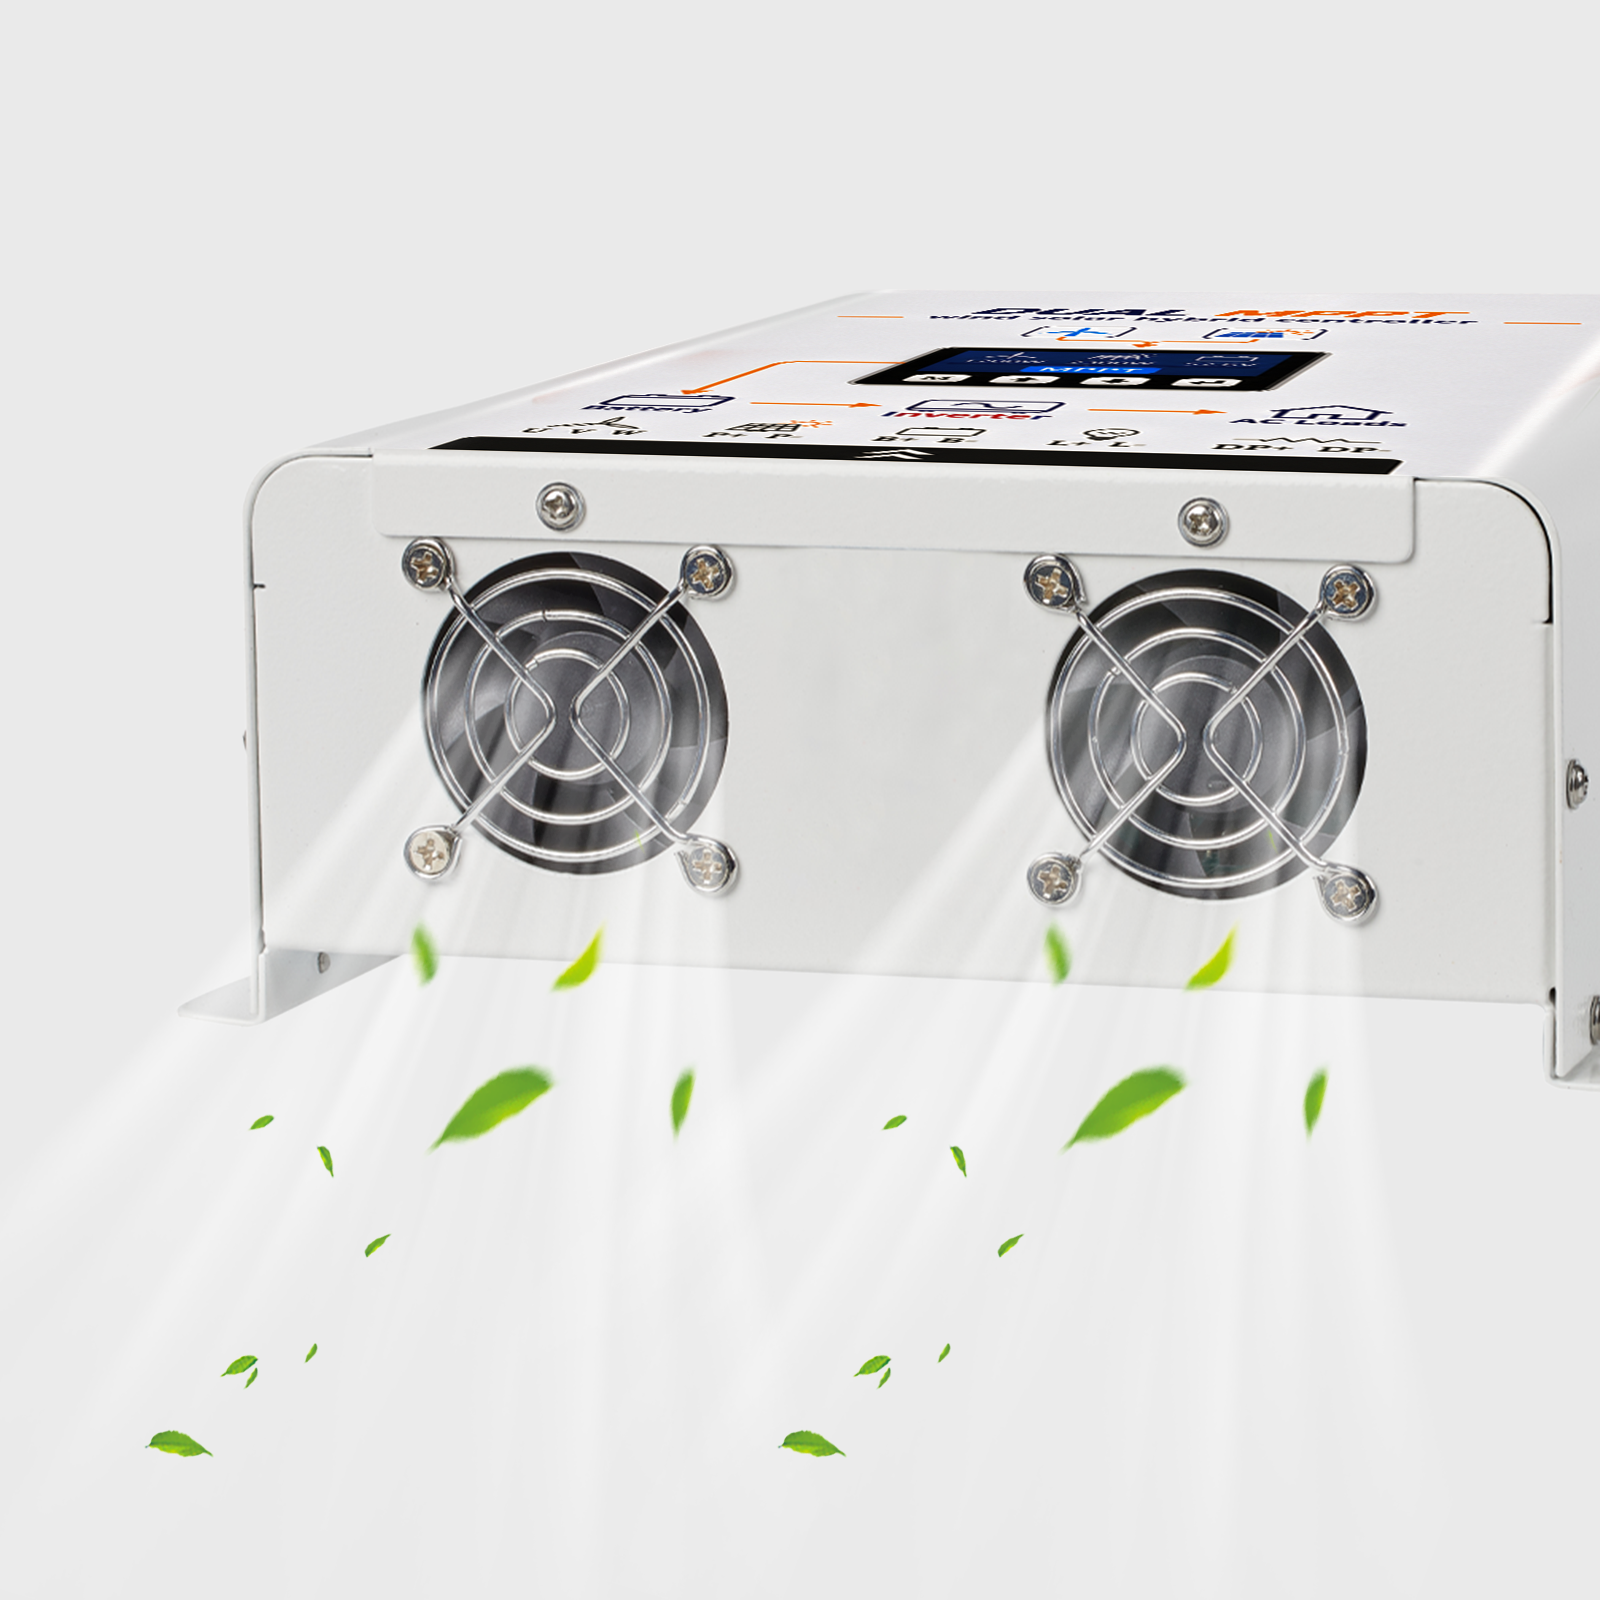
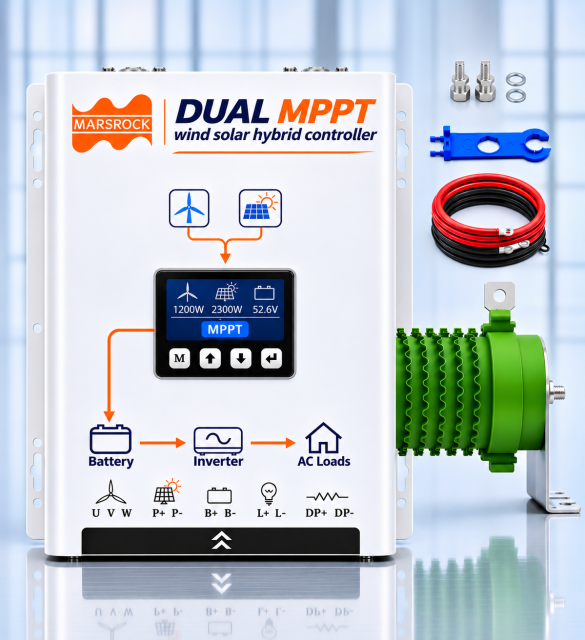
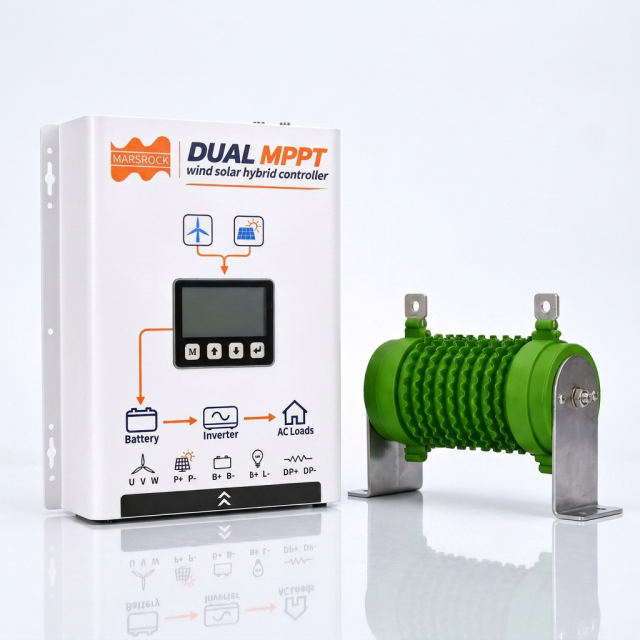
🛡️ Comprehensive Protection: Equipped with dedicated DP+/DP- terminals for connecting a resistive dummy/dump load, dissipating excess energy to protect the wind turbine from overvoltage.
🔄 Factory Reset Function: Easily restore all settings to default factory parameters for troubleshooting or standardizing setups.
Use this for the main body of the product page. We recommend using a mix of text and your provided images.
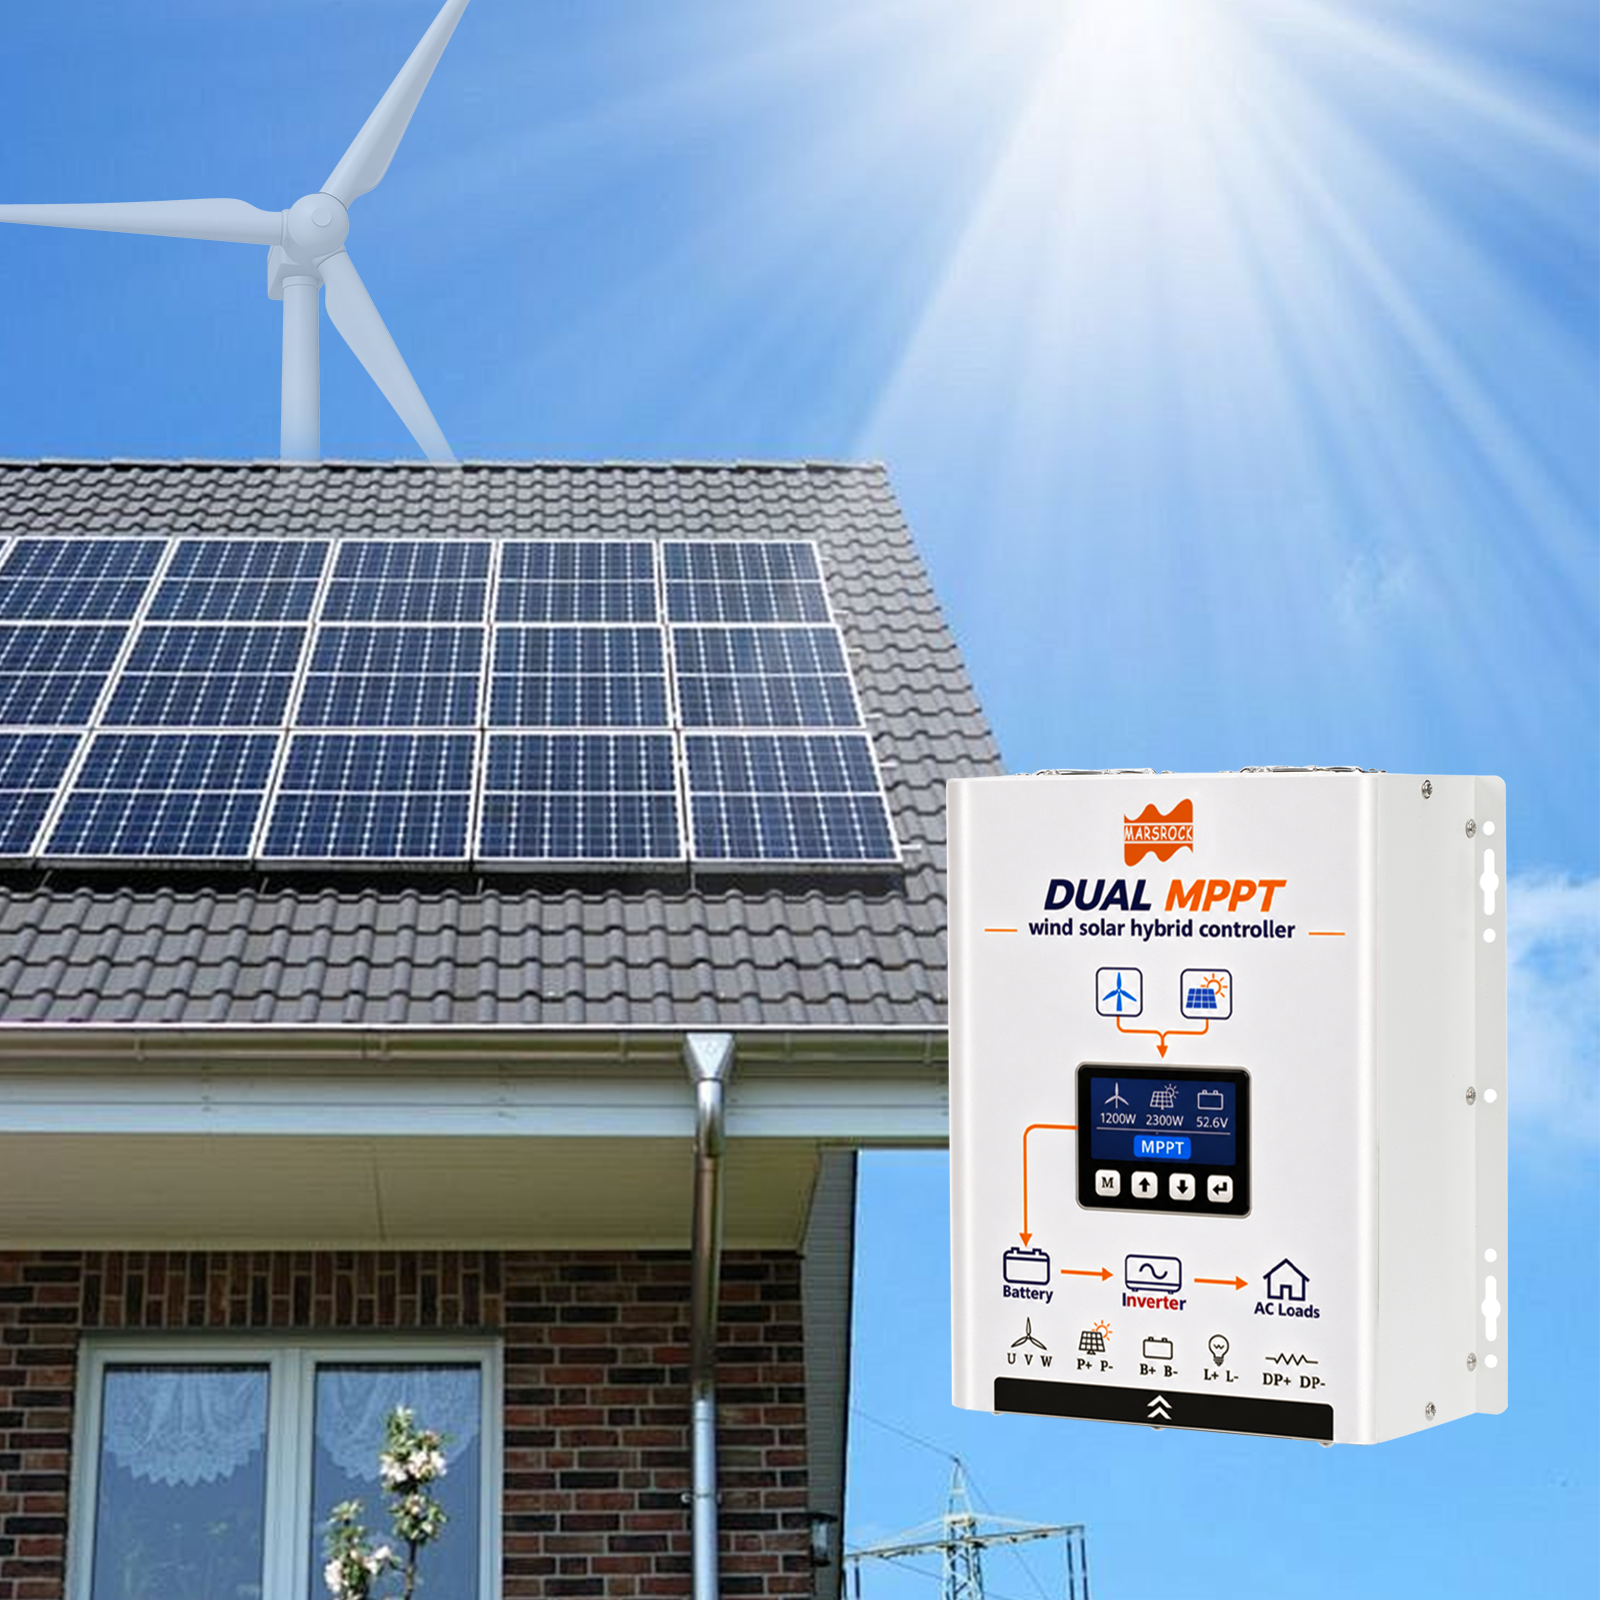
The Dual MPPT Wind-Solar Hybrid Controller is designed for efficient and intelligent energy management in hybrid renewable energy systems. It incorporates independent MPPT (Maximum Power Point Tracking) algorithms for both photovoltaic (PV) panels and wind turbines, ensuring maximum power harvesting from each source.
(1) Solar Charging Module:
Topology: BUCK (step-down) converter.
Function: Steps down the high voltage from the solar panel to charge the battery.
Control: Utilizes an MPPT algorithm to continuously track the maximum power point of the solar panel, ensuring optimal energy conversion.
(2) Wind Charging Module:
Topology: BOOST (step-up) converter.
Function: Steps up the relatively low voltage from the wind turbine to the required battery charging voltage.
Control: Implements MPPT to optimize wind power harvesting under varying wind conditions.
(3) Wind Turbine Pole Pairs: User-configurable setting that enables accurate RPM measurement and MPPT optimization.
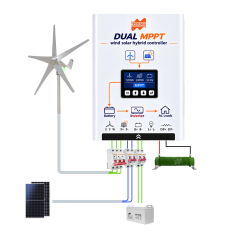
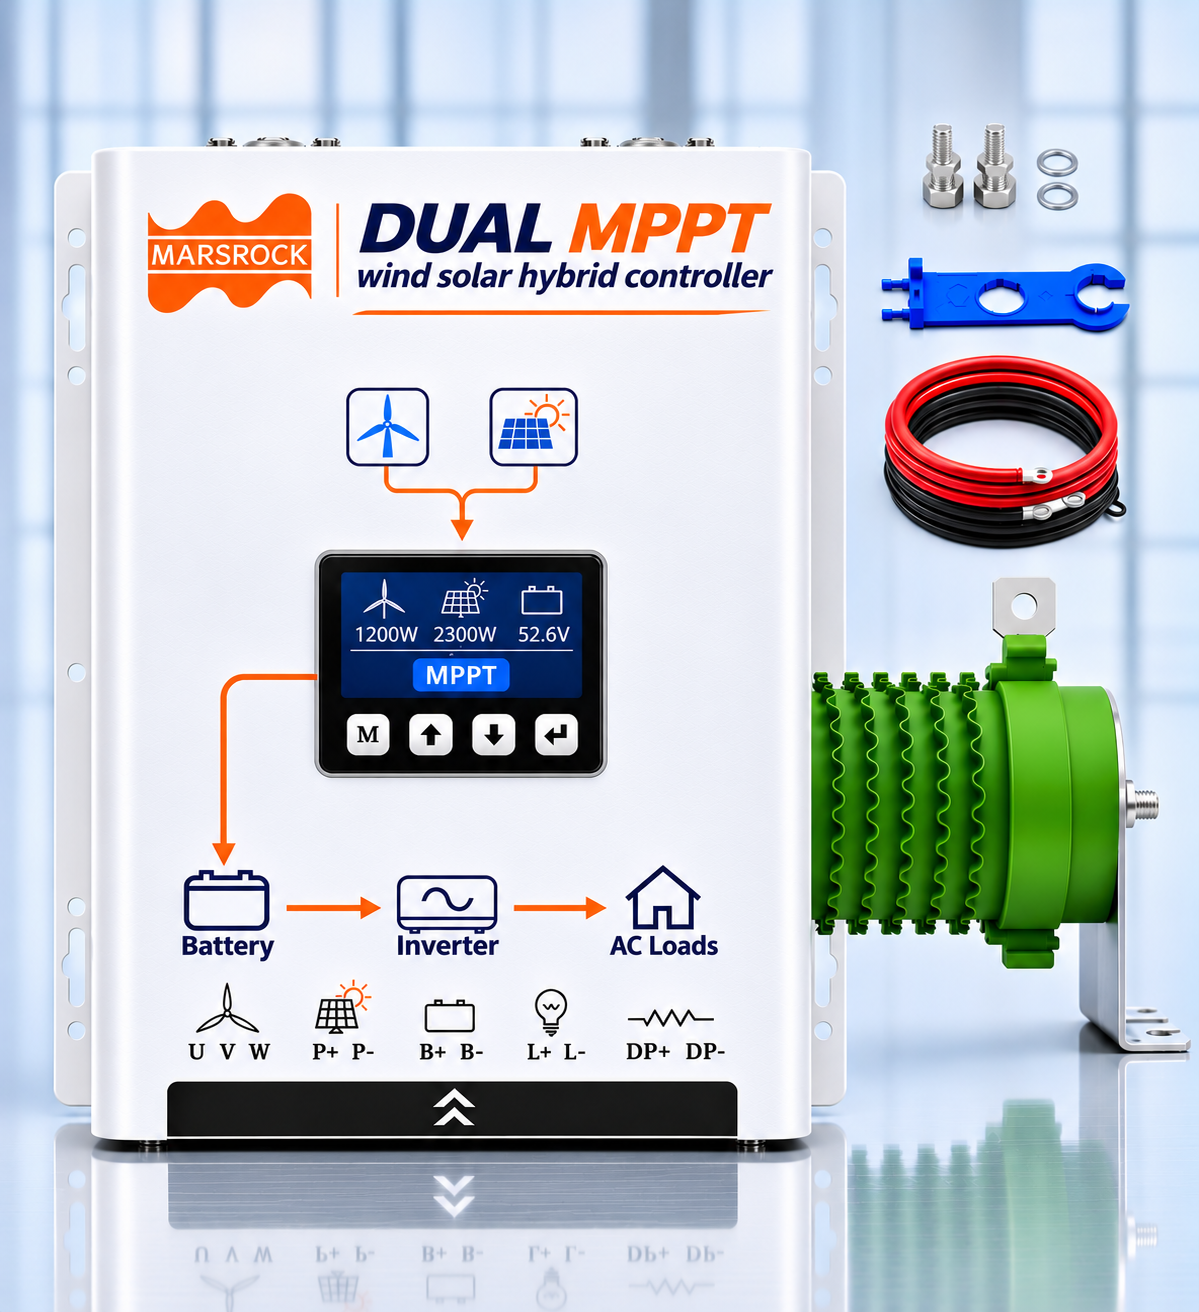
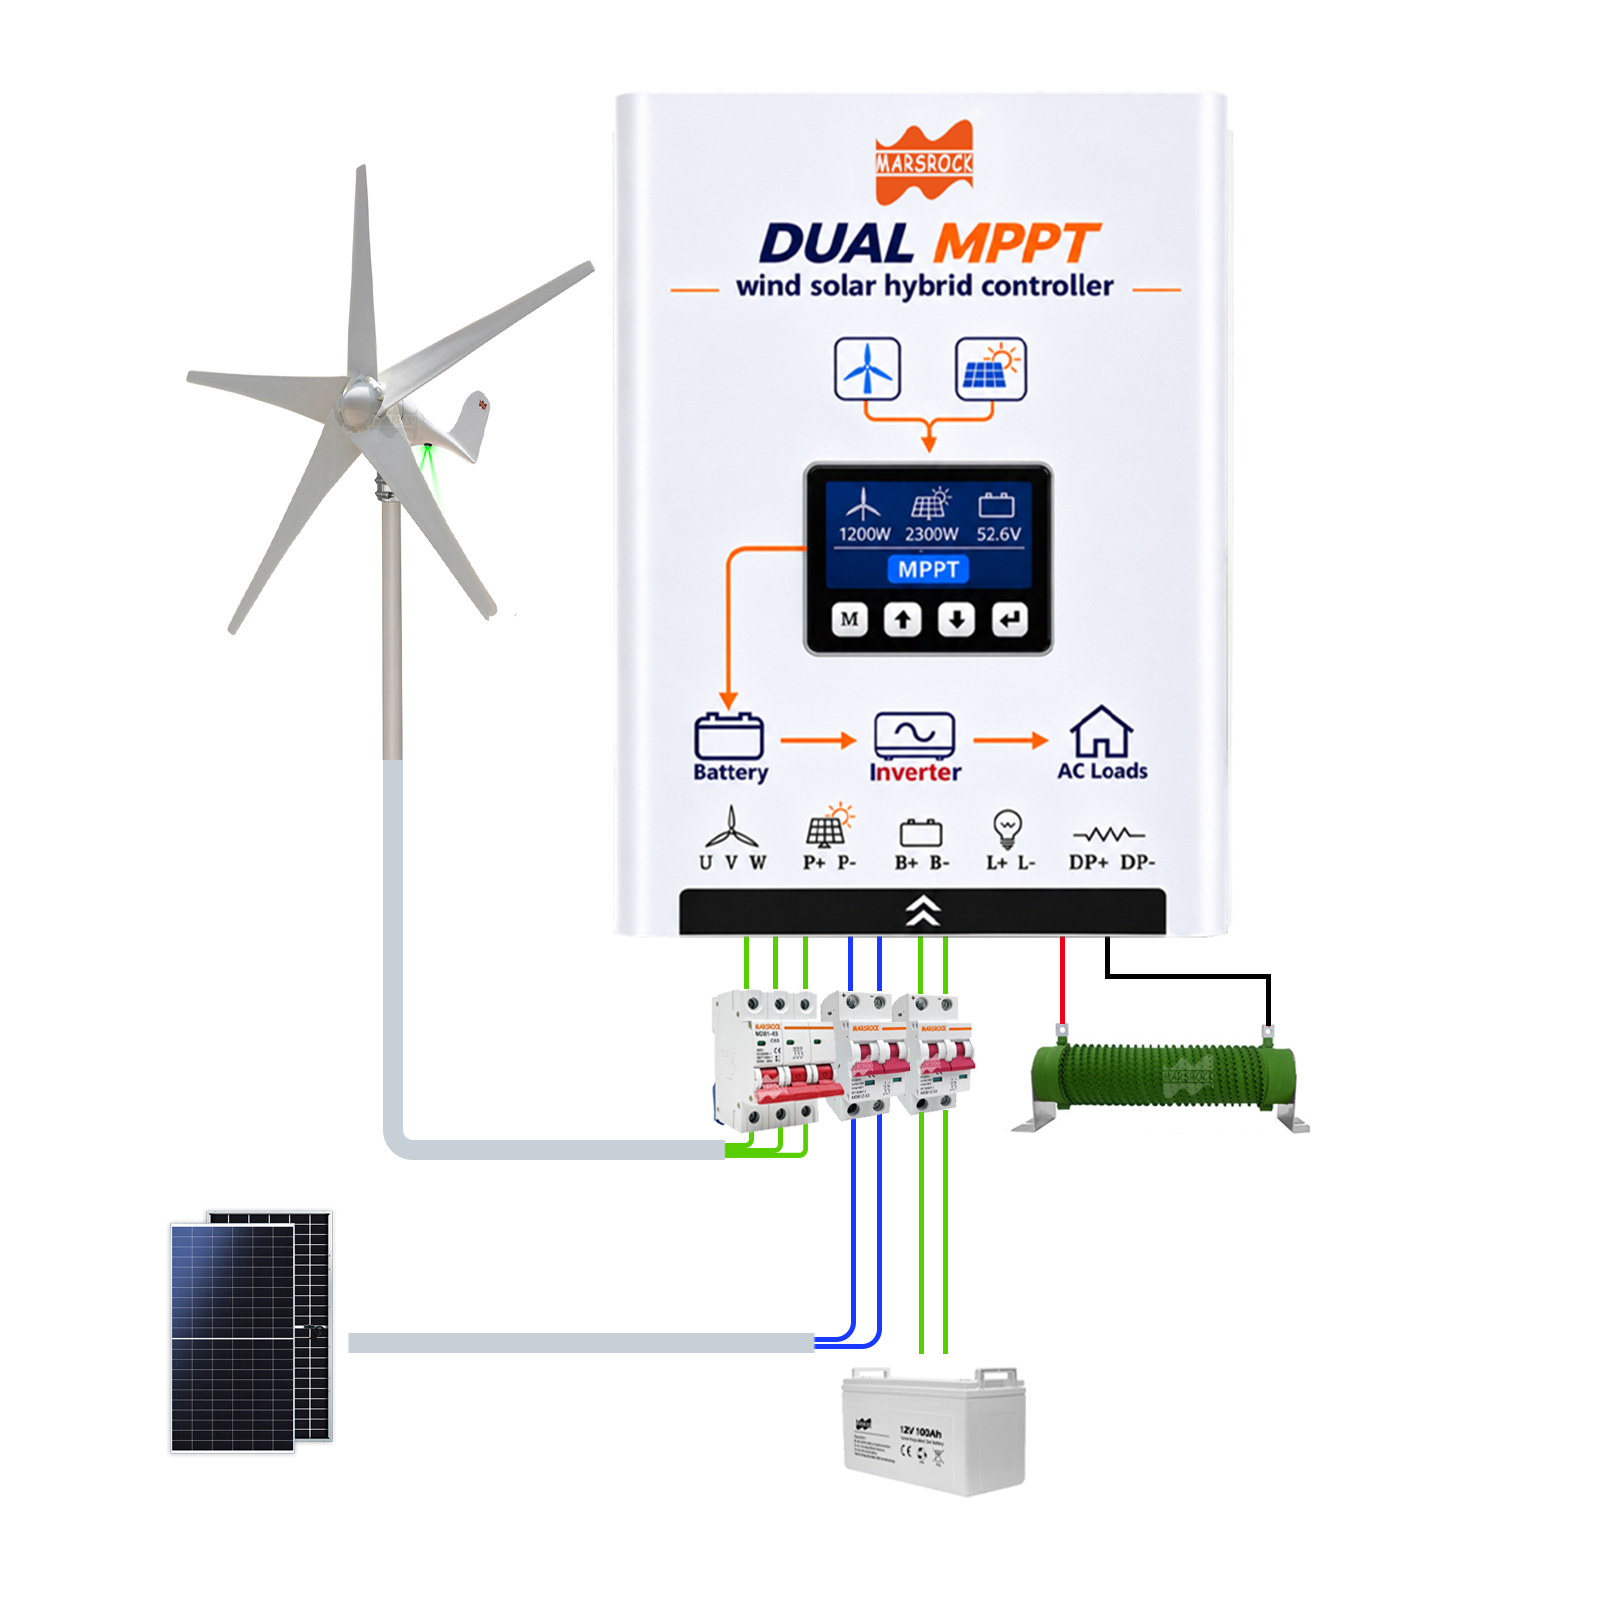
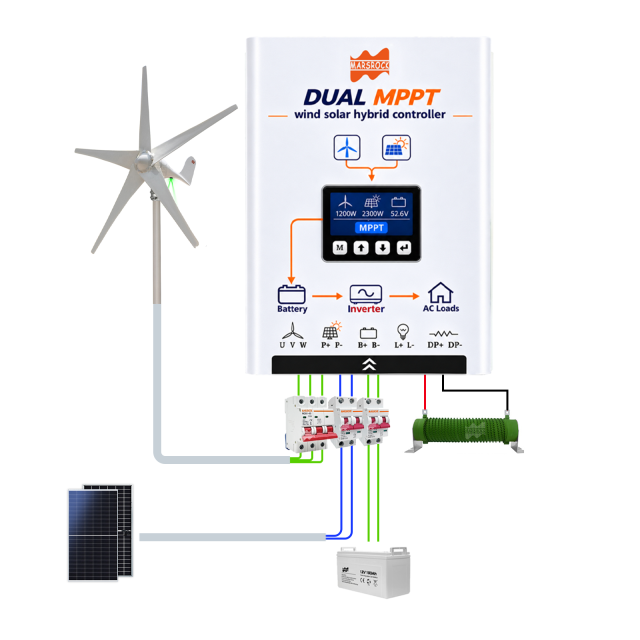
Please refer to the connector panel for proper wiring. Ensure all connections are made correctly before powering on.
U / V / W: Three-phase AC input from the wind turbine.
P+ / P-: DC input from the photovoltaic (PV) panel. (P+ connects to positive, P- connects to negative).
B+ / B-: Battery connection terminals. (B+ connects to positive, B- connects to negative).
L+ / L-: Load output terminals. Connect DC loads here (e.g., lighting or small appliances). Ensure the total load current does not exceed the system's rated output.
DP+ / DP-: Dummy load / dump load terminals for wind turbine excess energy dissipation. Connect a resistive load for overvoltage protection of the wind turbine. (Note: These terminals are not polarized).
The controller offers an intuitive, button-operated menu system for parameter configuration:
(1) Battery Setting: Set system battery voltage manually (12V/24V/48V) or choose automatic detection. Custom float/boost voltages can be defined.
(2) Charge Current Settings:
Max Solar Charge Current: Limit the maximum charging current from the solar MPPT module to protect the battery.
Max Wind Charge Current: Set the maximum allowable charging current from the wind MPPT module.
(3) 485 Communication: Submenu for RS-485 configuration (Set Modbus slave address and Baudrate).
(4) Restore Factory Setting: Resets all user parameters to factory defaults. Useful for troubleshooting.
Ensure all connections are made correctly and securely before powering on.
Make all connections with the system powered off.
Double-check polarity before applying power.
Do not exceed the rated voltage or power for PV and wind inputs.
Regularly inspect cables and terminals for wear or corrosion.
Always refer to the wiring diagram for proper setup.